
How to Make Snow at Home
A real home snowmaking setup, step by step. Water, air, cold, and the parts that put them together.
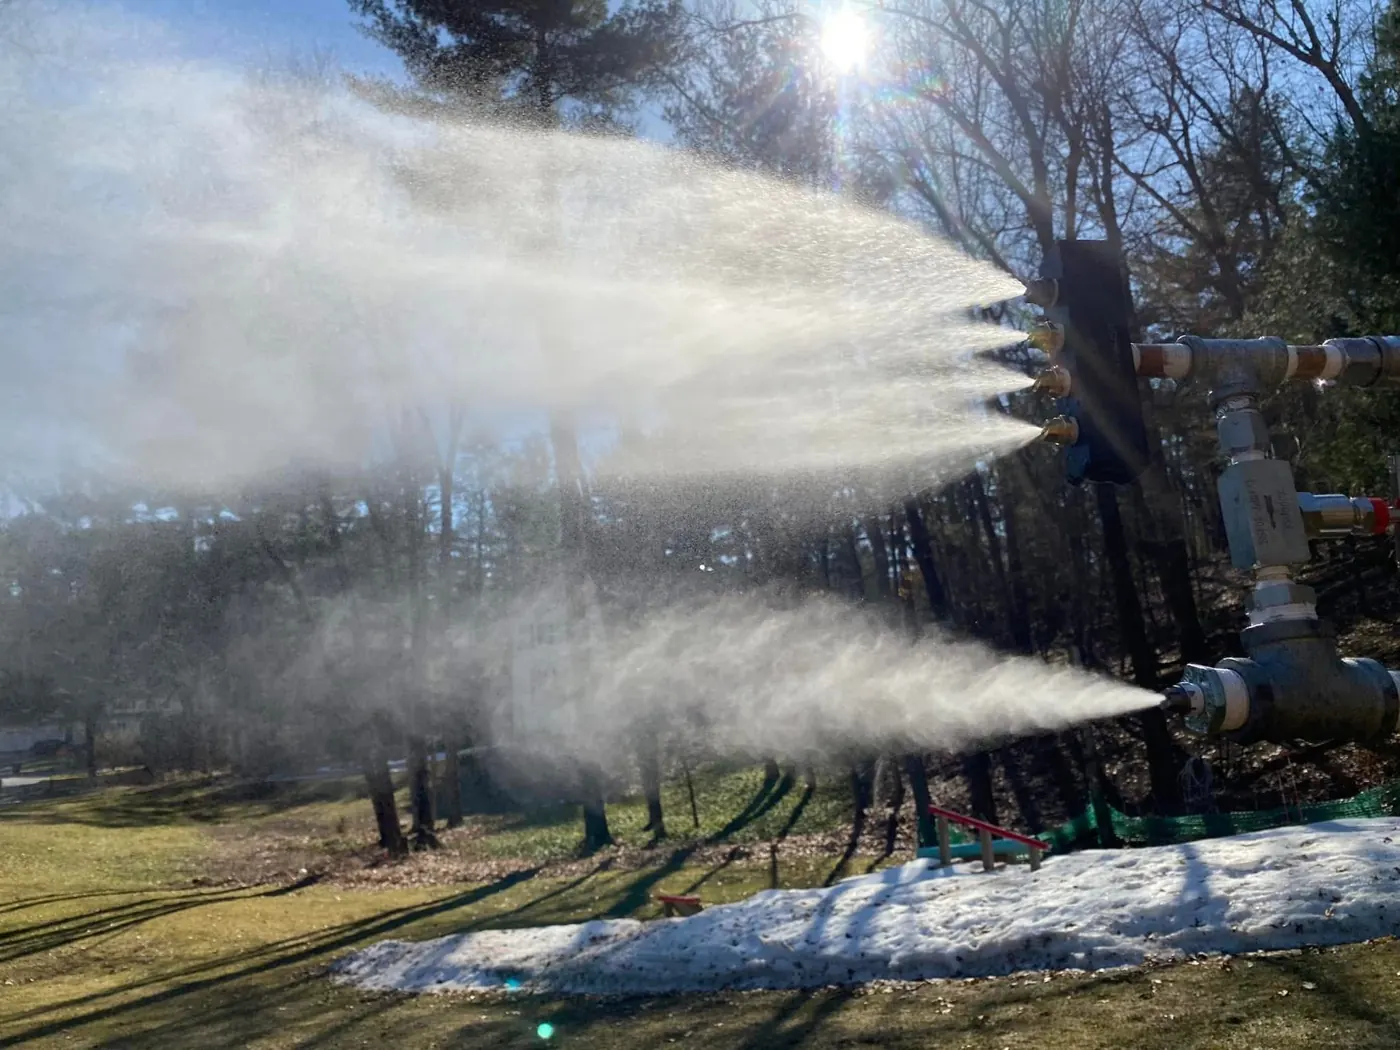
What You Need
Home snowmaking is the same idea a ski resort uses, scaled down. You spray water into cold air as tiny droplets, give them something to freeze onto, and give them enough time in the air to freeze before they land. A home snowmaking setup has six parts:
- A water supply. A spigot and a supply hose to the pump.
- A high pressure pump. A pressure washer or a triplex plunger pump.
- An air compressor. Air feeds the nucleator that seeds the spray.
- A snowgun. The head with the bulk water nozzles and the nucleator.
- Hoses and fittings. An air line, a high pressure water line, and quick-connects.
- The right weather. A cold enough wet bulb. This one is not optional.
Step 1: Check the Wet Bulb, Not the Thermometer
A droplet in the air cools toward the wet bulb temperature, not the air temperature. Wet bulb accounts for humidity: dry air pulls heat out of water through evaporation, humid air cannot. Snowmaking gets practical around 27–28 °F wet bulb and gets good below about 20 °F.
Step 2: Water Supply
Feed the pump from the spigot with a supply hose that never starves it. Colder water helps: water that starts at 50 °F takes about 12.5% more cooling than water at 32 °F to make the same snow. See the recommended supply hoses.
Step 3: the High Pressure Pump
Pressure breaks water into small droplets, and small droplets freeze fast. The Snowseed heads are built for 650–1,200 psi. A triplex pump moves a fixed flow; the nozzles set the pressure. Size the motor with the pump horsepower calculator and the drive with the pulley and belt calculator.
Step 4: Air and the Nucleator
Pure water does not want to freeze until it is far below 32 °F. A nucleator mixes compressed air and water into a fine, fast mist that freezes into tiny ice crystals, then seeds the main spray so the bigger droplets freeze on contact. Plan for an air compressor that delivers your snowgun’s rated CFM at 90 psi, run through a dedicated air line.
Step 5: Size the Snowmaking Nozzles
Nozzle numbers add up. Your pump’s flow and the pressure you want decide the total nozzle number, and the snowmaking nozzle calculator splits it across your outlets, including mixed sizes.
Step 6: Get It up High
A 200 to 400 micron droplet needs roughly 10 to 20 seconds in the air at a marginal wet bulb. Height and throw buy that time. A tower or boom is a performance part, not decoration.
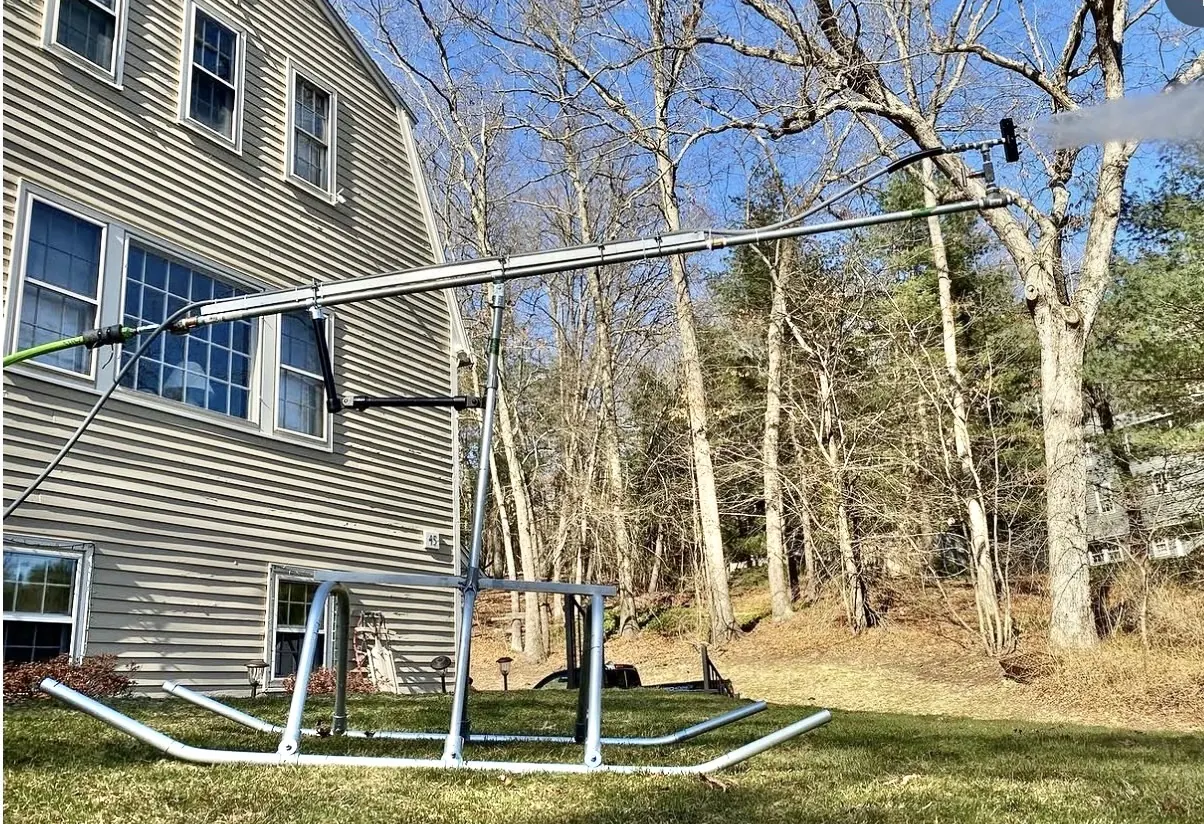
Step 7: Run It and Read the Snow
Coming down wet? The wet bulb may be too warm for that much water. Run less water, get more height, or wait for a colder hour. Coming down dry and fine is what you want.
Step 8: Shut Down and Drain
Water left in a hose or pump at night freezes. When you are done, shut down, drain, and blow out the lines. A garden hose blowout adapter on the compressor does it.